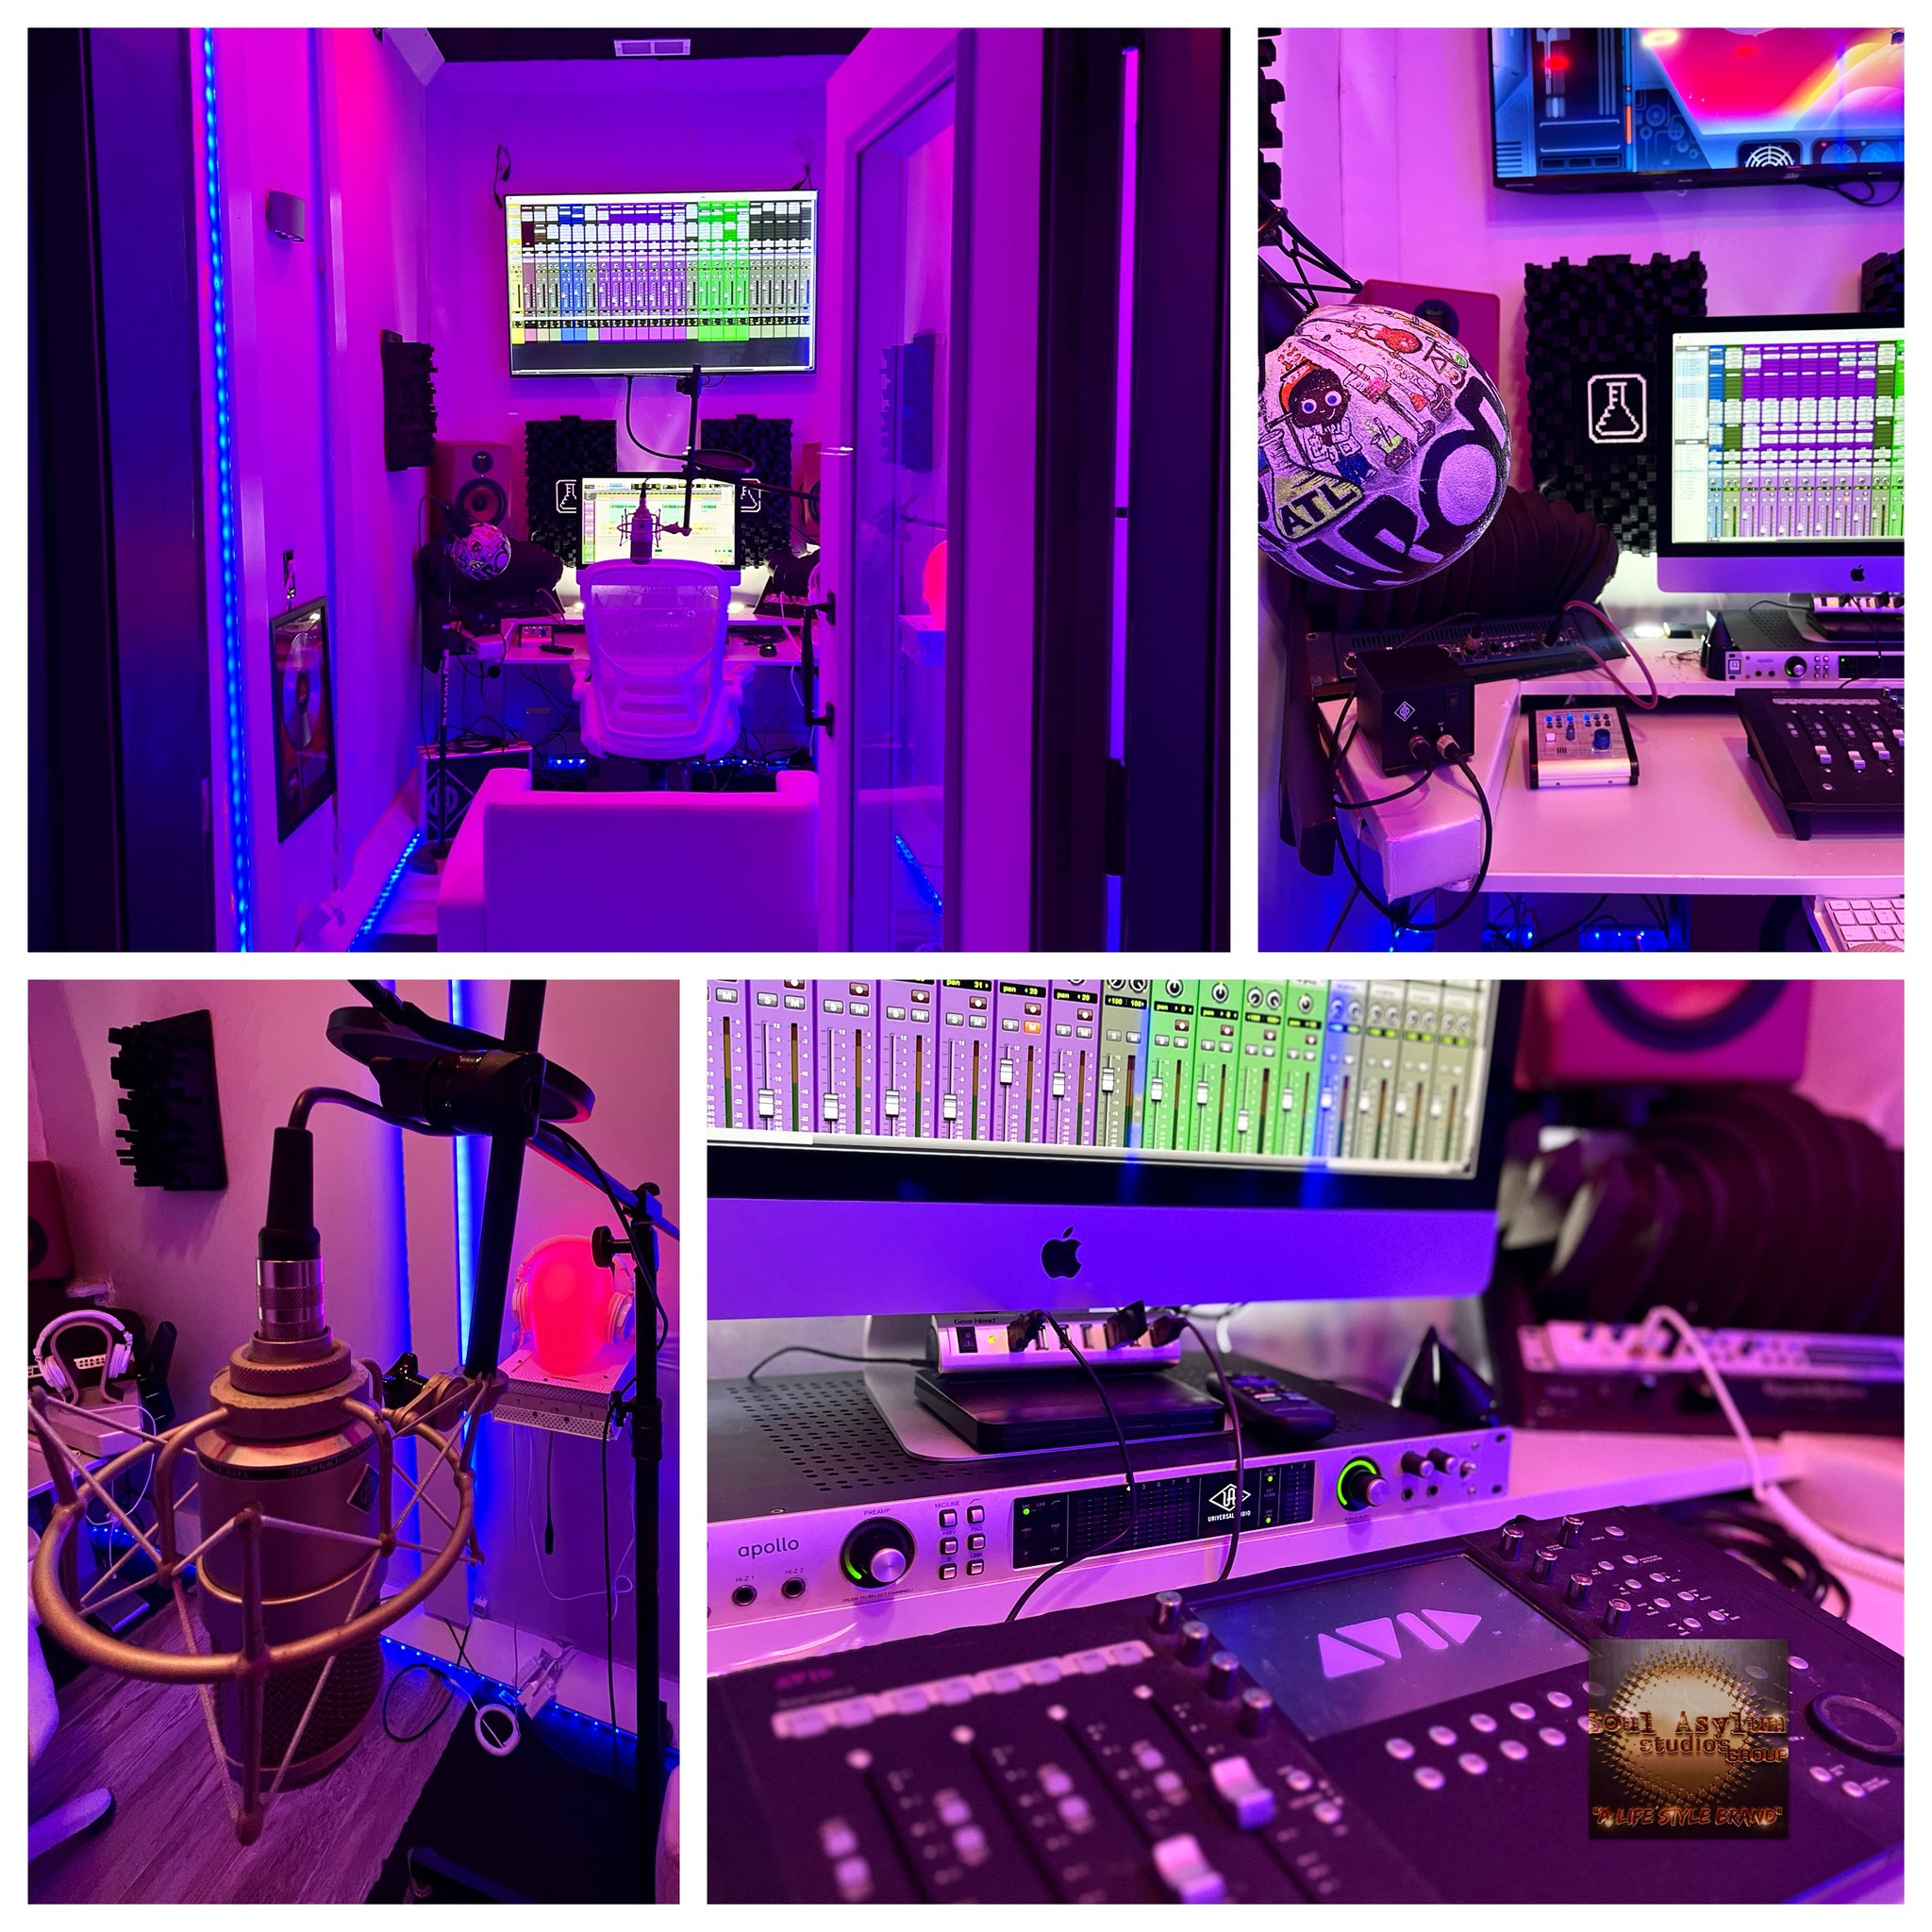
Do recording studios stop at only recording? Not at all, recording studios services goes from recording to making edits, mixing, mastering to make the track market ready.
Not all mixed songs are ready to be played in all the places. Mixing combines all the recorded sounds and creates them as one. However, there is still editing due to its formatting part to make it market-ready. So it can be played anywhere from pool parties to big clubs and in a car with friends going on a trip.
But what exactly Mastering is and how do studios master their songs?
In this blog, we’re going to share the mastering secrets of a recording studio. Especially the ones that we use in Soul Studio, Atlanta.
What Exactly Mastering Is?
Mastering is the process of optimising your mix for listening from all the devices available, systems, and media formats.
The aim of mastering a mix is to gel all the elements in it and bring certain details with appropriate positing of its major volumes. This step gives your track a desired feel & shape.
Studios use several software tools to master the tracks.
- EQ
- Compression
- Stereo Enhancement or Limiting
- Exciters or Saturation
- Some corrective tools to erase high-frequency harsh sound elements.
All these tools are used to master a track.
Note-
- Before mastering, make sure the mix is made up of professional quality.
- Mastering doesn’t remove the ugly elements of your mixing.
- If you try so with certain high frequencies, it can affect the whole sound in that region.
- Mastered files will be in formats such as FLAC/WAV/AIFFs. These are lossless files and don’t lose data over time or through transferring. These are called ‘Masters’ files.
- Devices and platforms copy data from these master files but they don’t carry the exact same data.
- Copied files are compressed files and include only the important elements.
( Also Read About – Why do artists need mixing and mastering services for better music? )
How Soul Studio Audio Engineers Master a Track?
So, finally, we have here the most important deal. Here is everything about mastering that we follow in the studio. Truly, you can do mastering even in your home provided you have all the tools, tech, and skills to do so.
( Read More – Dolby Atmos Music Mastering )
1. Prepare Your Track:
The first step here is the most important one. Unless you have the best mix ready, your results are not going to be satisfactory as well. If you have mixed the song as well, be sure to take a break, rest a little, and listen to the song again.

Take references from similar kinds of songs and check if you have a similar feel or not. The same goes for dynamic range & frequency distribution.
- Use Metric A/B plug-in.
- Use a proper set-up of monitor speakers and headphones.
- Leave at least -3dB of headroom not to bring ‘Noise Floor’.
- Export the track in wav/aiff, 24-bit, 42/28kHz, No dither.
2. Take A Break:
Take a break again and if possible, come back the next day to listen to things from a completely new perspective. We always get more things to remove from the track. Though it’s a very fine idea to revisit your track, make sure not to overdo it. Unless there’s something you can’t move forward with, don’t go back to editing. ( Mastering While You Mix: All You Need To Know )
3. EQ Your Master Track:
EQ stands for equalisation in the track. This is important to erase the frequencies that have issues with small & sharp cuts. This especially happens when you’re dealing with resonance in two different sound elements in a mix. Here are a few suggested steps to apply EQ to the track.
- Make sure to use 1/2dB frequency EQ not to harm other useful elements at the same frequencies.
- Next, look out for harsh tones in the 5-9 kHz range.
- Consider applying a ‘Reactive EQ’ which will react to activities at those frequencies over a certain volume.
- Next, use a wide curve to sculpt parts of the track which are above a certain frequency range. Use no more than 2 or dB.
- Always go with a linear phase EQ for mastering.
- Make notes of all the changes you make.
4. Compress the Track:
Compressing the track sets its tone, making the elements more consistent throughout the song. You first choose the frequency range and apply it. Be sure not to set any makeup gain as it will bring ‘Soft’ noises up.
- Set a range of 30-120Hz and a few dB gain reduction to get the low end.
5. Enhance Your Track:
Similar to what happens in image saturation, enhancing the track means adding colour to the track sound elements. Stereo Widening is also used in enhancing the track, making it feel like filling the room.
However, be gentle while adding saturation to your track or else you’ll end up ruining the whole edit.
( Also Read About – What is Sound Mastering? And its importance )
6. Go for Limiting:
Limiting is the final crucial step in mastering or else your final edit starts clipping during high peaks. Limiters work as compressors and keep the track at a desired volume alongside limiting the track to ∞ :1 ratio.
7. Exporting:
Set the exporting dimensions the same as the mix tracks- wav/aiff, 24-bit, 42/28kHz. However, use Dither this time. Use POW-r options to export as these will prevent any extra distortion when anytime the file is being bounced to a different resolution.
POW-r 1: Low Dynamic Range like Spoken Words.
POW-r 2: Medium Dynamic Range like Rock Music.
POW-r 3: Wide Dynamic Range like Orchestral Music.
Conclusion:
Here are all the important basics that we use in mastering a track. Please keep in mind that each studio has their way of executing processes. Especially when it comes to EQ, Compressing, and Limiting. Any experienced engineer can choose any one of them regardless of the conventional idea of working.


Leave a Reply