
Whether you’re a professional musician or just starting your journey now, you can’t say NO to the practice session. The rehearsal is what whistles the enthusiasm and coordination in a team. It makes you empathetic, beautiful, and magical. It means you gain a solid grip over the audience while performing the art for them.
You must have heard about the incidents where the audience started crying or went crazy while listening to the songs. The artists practise hundreds of hours for creating those magic moments.
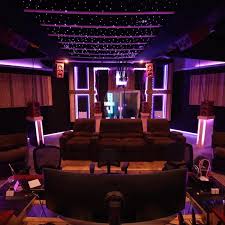
But a fully evolved studio setup is essential for rehearsal. Audio studios are special as they must be accurate while propagating, reflecting, and absorbing the sound waves.
Also Read More – 5 Amazing Things To Do At Soul Asylum Studios
1. Optimise Your Room:
The first thing you must do is to optimise your space. There are many unseen effects of space on progressive sound waves. Remember that not all spaces are equal. So you need to make all the adjustments according to your room. But focus on these three aspects.
1. Construction:
The sound waves cause diaphragmatic action. It affects the walls, floor, and windows and vibrates them. It dissipates energy as well. So if you’re in a brick wall, your bass response will be higher and much more powerful than that of a wooden wall.
2. Reflective Strength:
All walls reflect the sound wave. This means when you play your equipment, the direct and reflected waves will collide and cancel each other out by some degrees.
Moreover, if the reflected sound wave is displaced by 180°, it will completely cancel out your sound waves.
You need to place sound absorbers to keep the direct sound wave alive and most powerful in the room.
3. Size of the Room:
The size of the room also decides how clearly you can listen to music. A low frequency sound wave of 20 Hz is 17 metres long. This means if you are in a room of 10 metres, the sound wave will be less effective than that of 15 metres.
One way you can optimise your room is to use the diagonal side of your room for producing & propagating the sound.
Read More – Exact Steps to Making An Audiobook Recording
2. Set up the Sound Absorbers:
Your room is a reflection box. The walls reflect all kinds of sound pieces and make your practice confusing and less effective. The trick is to transform your room into a sound absorber from a sound reflection box.
Low frequency sound waves work differently than mid-frequency waves and high-frequency sound waves. The items which absorb low-frequency waves may not help you with the high-frequencies and vice-versa.
Heavy clothes, pillows, acoustic foams, and fibreglass insulation are perfect materials for high-frequency sound absorption. The Bass releases unidirectional low-frequency sound waves. You need to place the bass traps at your room’s corners and junction spots. Otherwise, you can use the carpet padding for the same.
3. Set the Right Rehearsal Arrangements:
When you are in the rehearsal room, you need to coordinate with all of your team members and therefore, you need to set up an arrangement that is right for your initial journey as well as for the stage performance.
Generally, any group starts working with the circle arrangement and then goes with stage arrangement to prepare for the real work.
1. Face-Off:
This arrangement directs all the team members to set themselves in a circle facing each other. This way, the guitarist can see the piano changing the rhythm and vocalists singing their one special note to modify their performance.
You must have seen singers going to their music players during the show. That’s not just to show off. This is for understanding the change in rhythm.
2. Stage Arrangement:
The second way you can set up your arrangement is to set it like a stage. You set the guitar and drum at their respective places as well as the vocalists.
This arrangement helps you with understanding the response of your devices in real time and perform according to that.
We understand that it’s not possible to practise directly with this setup. So you can start with the circle one to practise and then move to the stage arrangement for advanced rehearsal and live performances.
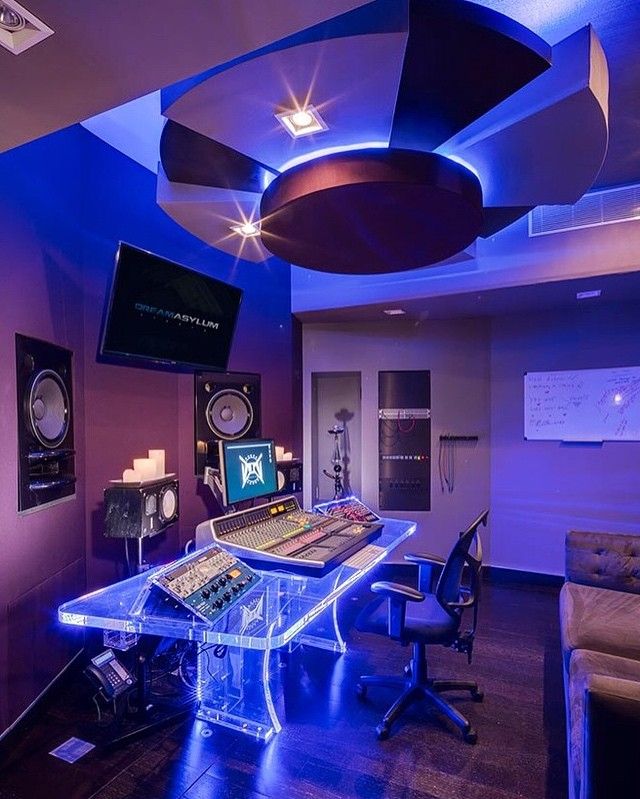
( SAS Recording, Mixing, and Mastering Sound in Atlanta )
4. Using a Mixer:
The best idea to implement is to buy a sound mixer and use it in rehearsal sessions. There are several analog & digital mixers available on the market. You can choose any one of them from your budget.
You can record your rehearsals and mix your performances in this. This will help you to evaluate the impact of your performance. You, while on the stage, may feel better about everything, but it’s the audience who matter, not the performer.
A recorded mix will help you refine your performance and make it sharp to reach the audience’s hearts.
Read More – 7 Things to Consider Before Mixing Music in Dolby Atmos
5. Selecting the Right Speakers:
Here comes the technical part. After you set your room and arrangements, now is the time to look at your equipment. There are two kinds of loudspeakers that you will see.
1. Active Vs Passive:
Active speakers come with the attached onboard power amplification. It powers up the driver and releases the amplified sound waves.
Passive speakers don’t have the power amplification and need an external one. Remember to match the impedance load and continuous power that your passive speakers can handle.
2. Biamplification:
Biamplification speakers have two power amplifications. It powers up both kinds of sound waves- high & low frequencies. Both the sound waves are separated before they hit the power amplifications with the help of a biamped system.
The whole setting makes the sound clear & open.
6. Set Your Equipment:
Now start setting up your equipment for the best results. Follow the instructions given below.
1. Drums:
The most noisy instrument among all is the drum. The drummer in your band should be placed behind or at the centre of the room. The focus is to set them as long as possible from the wall to reduce the reflection.
Everyone can hear the drummer swinging through the rhythms, but the drummer can not hear other people most of the time.
For this, keep the bass amp near the drummer to guide them.
2. Bass Amps:
The bass should be placed near the drummer to guide her/him. Place it in a way that it must face an imaginary audience. The bassists should stand in front of the stage so that he must be able to listen to the bass sound.
3. Guitar:
A guitarist must stand at the opposite side of the stage from the bass amp. This will help them to hear the bass clearly and better. However, he must also be nearer to the drummer. The guitar amp should be on the same side as the guitarist.
4. Keyboard:
It’s most important for a keyboard player to listen to what he/she is playing. During a live performance, the keyboard player will need an amp and a PA to optimise their performances. The amo should be facing the keyboard itself so that the player can hear itself. The audience will listen to the sound through a PA and the band will listen to it via a monitor.
5. The Vocals:
The vocalist is best when he is standing at the front and leading the band. He must hear a good mix of all the sounds and move with rhythm. During a rehearsal, the vocalists can see the band performance through a monitor nearby the band facing them.
Read More – Is Dolby Atmos the Future of Mixing?
Conclusion:
Want to start your band or look for the right place to practise for your performance? Any room can be your right place, though you need to follow some golden rules about it.
Above in this article, we have clarified how you can set up a rehearsal room for your band. From the room construction to the equipment setup, now you know everything. Now go and rock-n-roll.